Plop Basics Tutorial
Update: If you would prefer to watch a video on this content, you can see the content here on YouTube: Developer Bytes - Generating Templates With Plopjs.
In one of my recent developer bytes articles, I discussed with you some of the benefits of the micro-generator framework tool Plop and how I used this tool in my day to day. In this article I want to expand on the example the example I shared in the last article. So, in this tutorial we will be creating a Plop generator that will create a Vue component in TypeScript, and we will be going over the basics to create your own generators.
Code
You can find all of the code for this tutorial located here on GitHub .
Requirements
In order to follow along with this tutorial, you will need to have access to Nodejs and npm , or yarn .
I prefer to use yarn as my package manager, and will be using the command in my examples, however you can follow along by running the same npm commands.
Note: In this tutorial we will not be creating a full Vuejs application and will be solely focused on the setup and usage of Plop to create files, with the end goal of being able to take this knowledge and apply it to your existing or future projects.
Project Setup
The first thing you will need to do is setup a new project directory:
mkdir plop-example
After you create the directory, you will want to run the following command from within the project directory:
npm init -y
This will create a package.json file for your project with some default values. Lastly, we will need to add plop as a dev dependency to our project.
# yarn
yarn add plop -DE

# npm
npm install plop -DE
This should add plop to your devDependencies section in the package.json file.
Running Plop
Since we installed Plop locally in our project instead of as a global dependency, if we try to run the plop command from our project directory, you will likely see an error message similar to this: bash: plop: command not found. To avoid having to run the following command ./node_modules/plop/bin/plop.js every time we want to execute plop, we can update the scripts section in our package.json file to allow us to execute plop. To do this, update your package.json file to have the a scripts section:
{
  ...,
  "scripts": {
    ...,
    "plop": "plop"
  },
  ...
}
Now you should be able to run plop with the following command:
# yarn
yarn plop

# npm
npm run plop
Template Files
The template files are
handlebars
files (*.hbs), which are basically files that allow you to add variables to them and when the generator runs those variables will be populated in the files that are produced as output. All of the variables in these files needs to be placed between {{handlebars}}. For our templates, we will end up only using two variables: one for the filename and another one for the name of the Vue component that will be built.
To get started create a new directory called: plop/component and in this directory create three files with the following names:
{{filename}}.css.hbs{{filename}}.ts.hbs{{filename}}.vue.hbs
When the generator runs the {{filename}} part of the file will be replaced with the value we provide for the filename variable. In addition to this, the .hbs file extension will be removed, which means we will be left with left files for our component: a css, ts, and vue file.
Next, add the following code to each of the files:
{{filename}}.css.hbs
.{{filename}}-container {
  padding: 0px;
}
{{filename}}.ts.hbs
import { Options, Vue } from 'vue-property-decorator';

@Options({})
export default class {{componentName}} extends Vue {}
{{filename}}.vue.hbs
<template>
  <div class="{{filename}}-container">{{ componentName }}</div>
</template>

<script lang="ts" src="./{{filename}}.ts"></script>

<style scoped src="./{{filename}}.css" />
As you can see, these files do not have much code and will only create a simple Vue component. In our template files, we are expecting two variables:
filename- the name that will be used for our files. This variable will be provided as input when we run Plop.componentName- the name of our component. This variable will be dynamically created from thefilenamevariable.
Create Plop Config
In order to use Plop, we need to provide a configuration file that will tell Plop which prompts and actions to run when running a particular generator. We can do this by creating a plopfile.js file in the root of our project. Create a new file called plopfile.js and add the following:
module.exports = function (plop) {
  plop.setActionType('createComponentName', function (answers) {
    if (answers.filename === '') {
      throw 'filename is required';
    }
    let componentName = '';
    answers.filename.split('-').forEach((str) => {
      componentName += str.charAt(0).toUpperCase() + str.slice(1);
    });
    answers.componentName = componentName;
    return 'success status message';
  });

  plop.setGenerator('component', {
    description: 'Basic Vue component using Typescript',
    prompts: [
      {
        type: 'input',
        name: 'filename',
        message: 'filename: ',
      },
    ],
    actions: [
      {
        type: 'createComponentName',
      },
      {
        type: 'addMany',
        destination: 'src/components/{{filename}}',
        templateFiles: 'plop_templates/component/*.hbs',
        base: 'plop_templates/component',
      },
    ],
  });
};
In the code above, we did the following:
- exported a function that will take plop as an argument which will allow us to use the main methods of the Plop instance
- created a generator called
componentby calling thesetGeneratormethod - created a custom action called
createComponentNameby calling thesetActionTypemethod
Generator
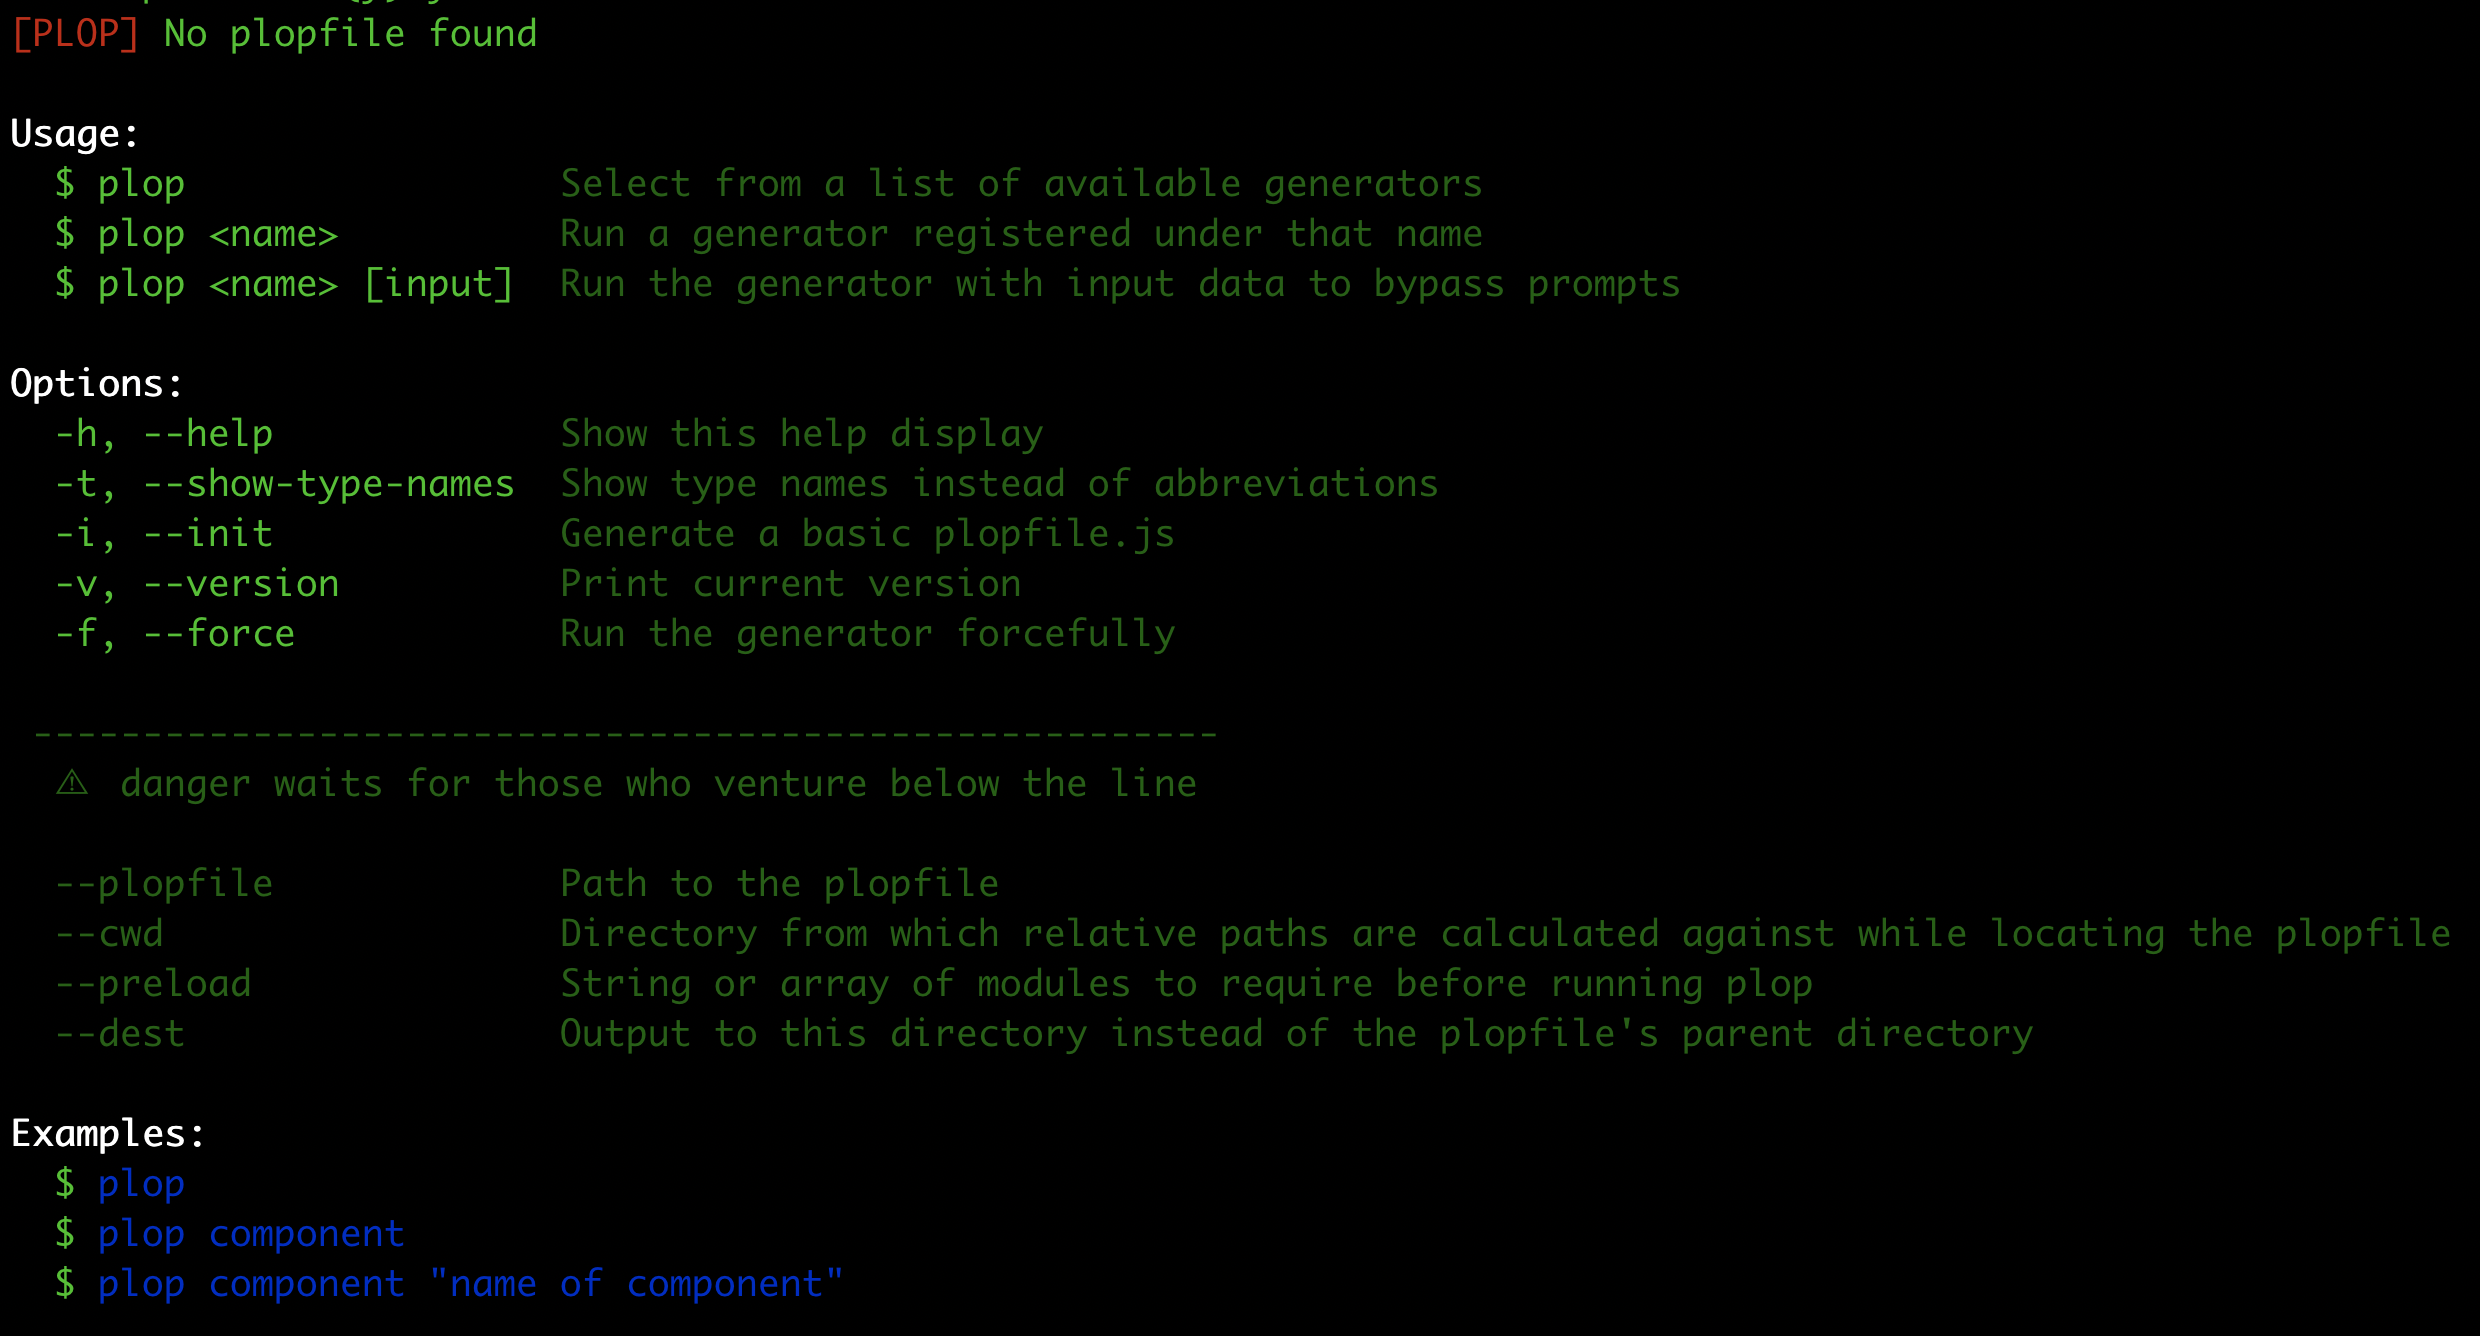
A generator is a core component in Plop that is used telling Plop which prompts and actions will be ran when you run a particular generator. When you run the plop command from your project directory, or any sub directories, a list of generators will be displayed for you to pick from. If you only have one generator defined, Plop will default to using that generator.
Actions
Actions are the steps that will be ran after Plop has gathered all of the required information from the defined prompts. The actions field takes an array of
actionConfigs
. Plop has many
built in actions
that you can use, and you have the option to define your own. In our config we defined a custom action called createComponentName and we used a built in action called addMany.
The addMany action is used when you want to create multiple files. You can use this action by providing the following configuration:
type- set toaddManydestination- a relative file path from the root of the project to where we want the new files to be placed (directories will automatically be created if they don’t exist)templateFiles- a glob pattern that matches multiple template files to be addedbase- the section of the path that should be excluded when adding files to thedestinationfolder
Custom Actions
In order to use custom actions, you need to define them by using the setActionType method. This method expects two arguments, the first is the name of the custom action and the second is a function that will be ran when this action is invoked. This function will receive three arguments:
answers- answers to the generator promptsconfig- the object in the “actions” array for the generatorplop- the plop api for the plopfile where this action is being run
In our example, the createComponentName action is used to create a new property called componentName which we will use in our template files. The componentName is based on the filename value that is provided by the user.
Prompts
Prompts are the questions that will be shown to the user when a generator is run. The prompts field takes an array of
Inquirer
questions. In our example, we are only asking one question since we only need to populate one variable. Our question has the following fields:
type- set toinputsince we are prompting the user to type in their responsename- the name of the variable that we are using in the templatesmessage- the message to display to the user in the console
Testing Our Generator
Now that we have all of our files in place, we can test our generator. We can do this by running the following command:
# yarn
yarn plop

# npm
npm run plop
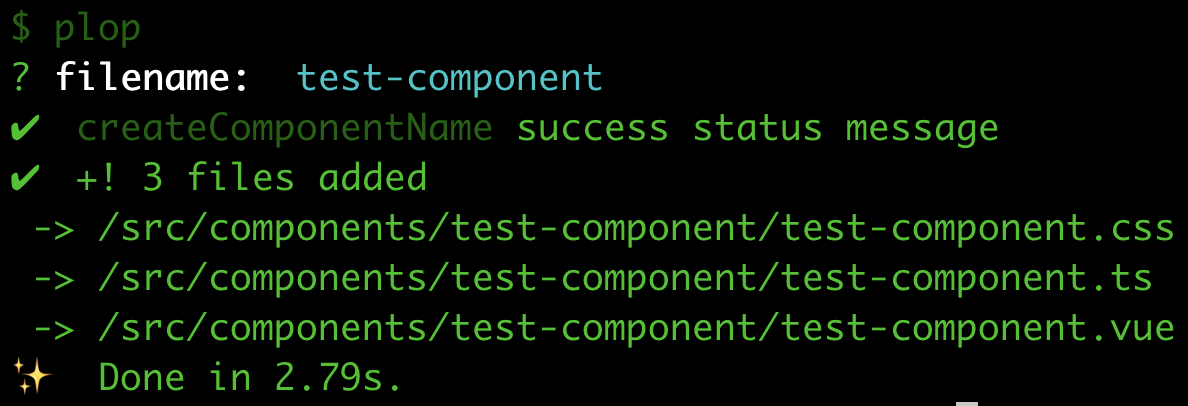
This will result in Plop running our one generator and you should be prompted for the filename variable. If you input, test-component, you should see a confirmation message about the new files being created, and you should see the three new files in a sub folder under the src/components folder.
In addition to prompting users for input, we can provide those values directly to the plop command when we run it. The general structure of this command is:
plop [generator_name] [first_prompt_value] [...prompt_values]
So, in our example if we ran the following command, it would result in the same output as the command we ran above:
# yarn
yarn plop component test-component

# npm
npm run plop component test-component
Summary
In this tutorial, we learned how we could use Plop to generate files based on the templates we provide. I hope you found this article helpful. Please feel free to post any questions or comments below.
