Creating A Memory Game Class in TypeScript
Intro
The purpose of this tutorial is to show you how to create a simple Memory Game class in TypeScript that will contain all of the core game logic for building a simple Memory Game. For this tutorial, we will be testing our game logic using the browser developer console. However, in future tutorials, I will be showing you how we can take this class and create a basic Memory Game using HTML5 game frameworks like Phaser and Kontra.
In a lot of tutorials that show you how to build a game in a particular framework, generally the core game logic becomes tightly coupled to that particular framework. When this happens, it can make it very difficult to re-use your code in other games, and to rebuild the game in another framework. By separating out the core logic for the game and the logic that is used for presenting the game, re-using our code with another framework becomes much simpler.
You can find the complete code for this tutorial here: GitHub - TypeScript Basic Memory Game.
Memory Game also known as Concentration
If you are not familiar, Concentration (also known as Memory), is a type of card game in which all of the cards are laid face down and the player flips two cards over at a time, which is called a turn in this game. If the two cards are a match, then the two cards stay face up and the player can flip over the next cards. If the two cards do not match, then the player flips both of those cards face down and takes another turn flipping over any two cards. This continues until the player has found all of the matches.
For this type of game, usually we could time the player to see how long it takes them to find the matches, or keep track of the number of turns it takes them to complete the game and from there we could treat the lowest score as the best score and have the player to try and beat that number. In some variations of the game, to make the game a little easier, the player may be shown the cards before they are flipped down.
Requirements
In order to follow along with this tutorial, you will need to have Nodejs and NPM installed on your computer, or have access to a computing resource that does. For this tutorial, I will be using Yarn for my package manager, however you can following along by running the same commands with npm.
You will also need to have Parcel installed globally. You can do this by running one of the following commands:
Yarn:
yarn global add parcel-bundler
npm:
npm install -g parcel-bundler
Having experience with TypeScript and JavaScript would also be beneficial, since I will not be covering the basics of these languages in this tutorial.
Setup
To make getting started as simple as possible, I have created a basic TypeScript template that uses Parcel for bundling our web application and for serving our web application while working locally. You will need to either clone or download the code from the following repository: TypeScript Parcel Template.
Once you have the source code, you will need to install the dependencies for the project by running the following command:
yarn install --frozen-lockfile
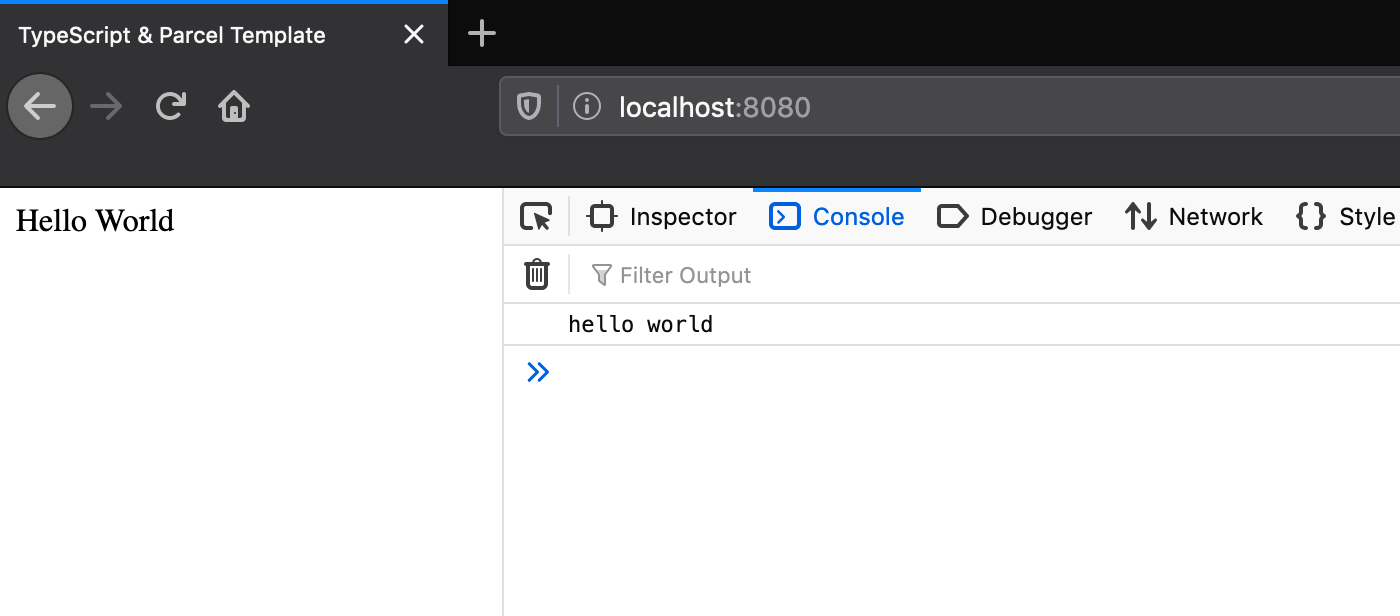
Once all of the dependencies are installed, you should be able to run yarn start to start the web server on port 8080 and you should be able to navigate to http://localhost:8080 in your web browser and see the following page:
With our project now set up, we can start building our game!
Card Class
This first thing we are going to do is build out a Card class that will represent the cards we are trying to model in our game. For each card in our game we will need to know the following things:
- is the card visible to the player
- what is the type of the card
For interacting with our cards, we will need to be able to do the following actions:
- flip a card over so it is visible
- flip a card over so it is not visible
- check to see if a card is visible
- check the card’s type
With this information we can start to build out our class. Create a new folder called app in the src folder, and in this folder create a new file called Card.ts. Place the following code in the new file:
export default class Card {
  private type: string;
  private visible: boolean;

  constructor(cardType: string) {
    this.type = cardType;
    this.visible = false;
  }

  public getType(): string {
    return this.type;
  }

  public setType(type: string): void {
    this.type = type;
  }

  public async flipCard(): Promise<void> {
    this.visible = !this.visible;
  }

  public isVisible(): boolean {
    return this.visible;
  }

  public flipCardFaceDown(): void {
    this.visible = false;
  }
}
Game Class
With our Card class in place, we can start building out our MemoryGame class. This class is going to contain all of the core logic for our game. For our game we will need to know the following:
- the cards that are used for this game
- the current number of turns
- which card is selected
- is the game locked and the player cannot select any cards (used for any animations we want to have in the game or for when we want to reset the game state)
In our game, we will need to be able to do the following:
- flip all of the cards facedown
- get the current number of turns made
- increment the number of turns
- shuffle all of the cards
- get all of the cards in our game (used for presenting them in the game)
- allowing the player to select multiple cards
- logic to check for card matches
With this, we can start to build out our MemoryGame class. In the app folder, create a new file called MemoryGame.ts and place the following code inside it:
import Card from './Card';

export default class MemoryGame {
  protected cards: Card[];
  private numberOfMoves!: number;
  private selectedCard!: Card|null;
  private lockGame!: boolean;

  constructor(cards: Card[]) {
    this.cards = cards;
    this.resetGame();
  }

  public resetGame(): void {
    this.shuffleCards();
    this.numberOfMoves = 0;
    this.selectedCard = null;
    this.lockGame = false;
    this.flipCards();
  }

  public getCards(): Card[] {
    return this.cards;
  }

  public async selectCard(card: Card): Promise<void> {
    // TODO
  }

  public getNumberOfMoves(): number {
    return this.numberOfMoves;
  }

  private shuffleCards(): void {
    // TODO
  }

  private incrementTotalNumberOfMoves(): void {
    this.numberOfMoves += 1;
  }

  private flipCards(): void {
    // TODO
  }
}
In the code above, we created the basic skeleton of our class and we set up our constructor to take in an array of Card objects. From there, we had the constructor call the resetGame method, which will be used for setting up our game and for resetting the game if the player wants to start over or for when the game is completed. In the resetGame method, we shuffle the card array that is provided to our class and then we call the flipCards method, which will be used for flipping all of our cards facedown.
We also added the following methods, which have no logic in them yet:
selectCard: will be called anytime a player clicks on one of theCardobjects. This method will contain all of the logic for checking for matches and for flipping cards over.shuffleCards: used for shuffling theCardobjects in ourCardarray.flipCards: used for flipping all of the cards facedown.
Flipping All Cards Facedown
With the basic class structure in place, we we still updating the methods that still need to be completed. The first method we are going to work on is the flipCards method. For this method, we basically need to loop through all of our cards and call the flipCardFaceDown method.
Replace the // TODO in the flipCards method with the following code:
this.cards.forEach((card: Card) => {
  card.flipCardFaceDown();
});
Shuffling Cards
For the shuffleCards method, we need to take our array of cards and shuffle them randomly. To achieve this, we will implement the Fisher-Yates shuffle algorithm. If you are not familiar, the Fisher-Yates shuffle algorithm is an algorithm for generating a random permutation of a finite sequence, and this algorithm produces an unbiased permutation, where each permutation is equally likely. Basically, this would be like if we took all of the elements from our array, put them in a hat, and then pulled those elements out one by one, which would result in a new sequence.
Instead of placing our shuffle logic in the shuffle method, we will place this logic in a new function in a seperate file In the app folder create a new called shuffle.ts and place the following code in it:
/**
 * Fisher Yates shuffle
 * @param array an array of items that need to be shuffled.
 */
export default function shuffle(array: any[]) {
  let currentIndex: number = array.length;
  let temporaryValue: any;
  let randomIndex: number;

  while (currentIndex !== 0) {
    randomIndex = Math.floor(Math.random() * currentIndex);
    currentIndex -= 1;
    temporaryValue = array[currentIndex];
    array[currentIndex] = array[randomIndex];
    array[randomIndex] = temporaryValue;
  }

  return array;
}
Then back in the MemoryGame class, replace the // TODO in the shuffleCards method with the following code:
this.cards = shuffle(this.cards);
Selecting A Card
Finally, for the selectCard method, we need to make sure that the selected card is not already visible and that the game is not currently preventing the player from selecting cards. We will need to allow the player to select a single card and keep track of the selected card, and then when the player clicks on a second card we need to see if those two cards match. If those two cards don’t match, then we need to flip them back over.
Replace the // TODO in the selectCard method with the following code:
// check to see if the selected card is already face up
if (!card.isVisible()) {
  // check to see if game is locked (for animations and time based events)
  if (!this.lockGame) {
    // this is the first card selected
    if (this.selectedCard === null) {
      this.selectedCard = card;
      // display card until a second card is chosen
      await card.flipCard();
    } else {
      // lock game until animations are complete
      this.lockGame = true;
      // display second card
      await card.flipCard();
      // second card was selected, increment total number of moves
      this.incrementTotalNumberOfMoves();
      // check for a match, if not a match flip cards over
      if (!cardsMatch(this.selectedCard, card)) {
        await Promise.all([card.flipCard(), this.selectedCard.flipCard()]);
      }
      // reset selected card
      this.selectedCard = null;
      // re-enable game
      this.lockGame = false;
    }
  }
}
Testing Our Code
With the code for our MemoryGame class in place, we can test our code. To do this, we will create an instance of our class, and make this instance available on the global window object. By doing this, we can test our code in our browser developer console.
In the src/Main.ts file, replace all of the code in this file with the following code:
import Card from './app/Card';
import MemoryGame from './app/MemoryGame';
const cards: Card[] = [
new Card('1'),
new Card('1'),
new Card('2'),
new Card('2'),
];
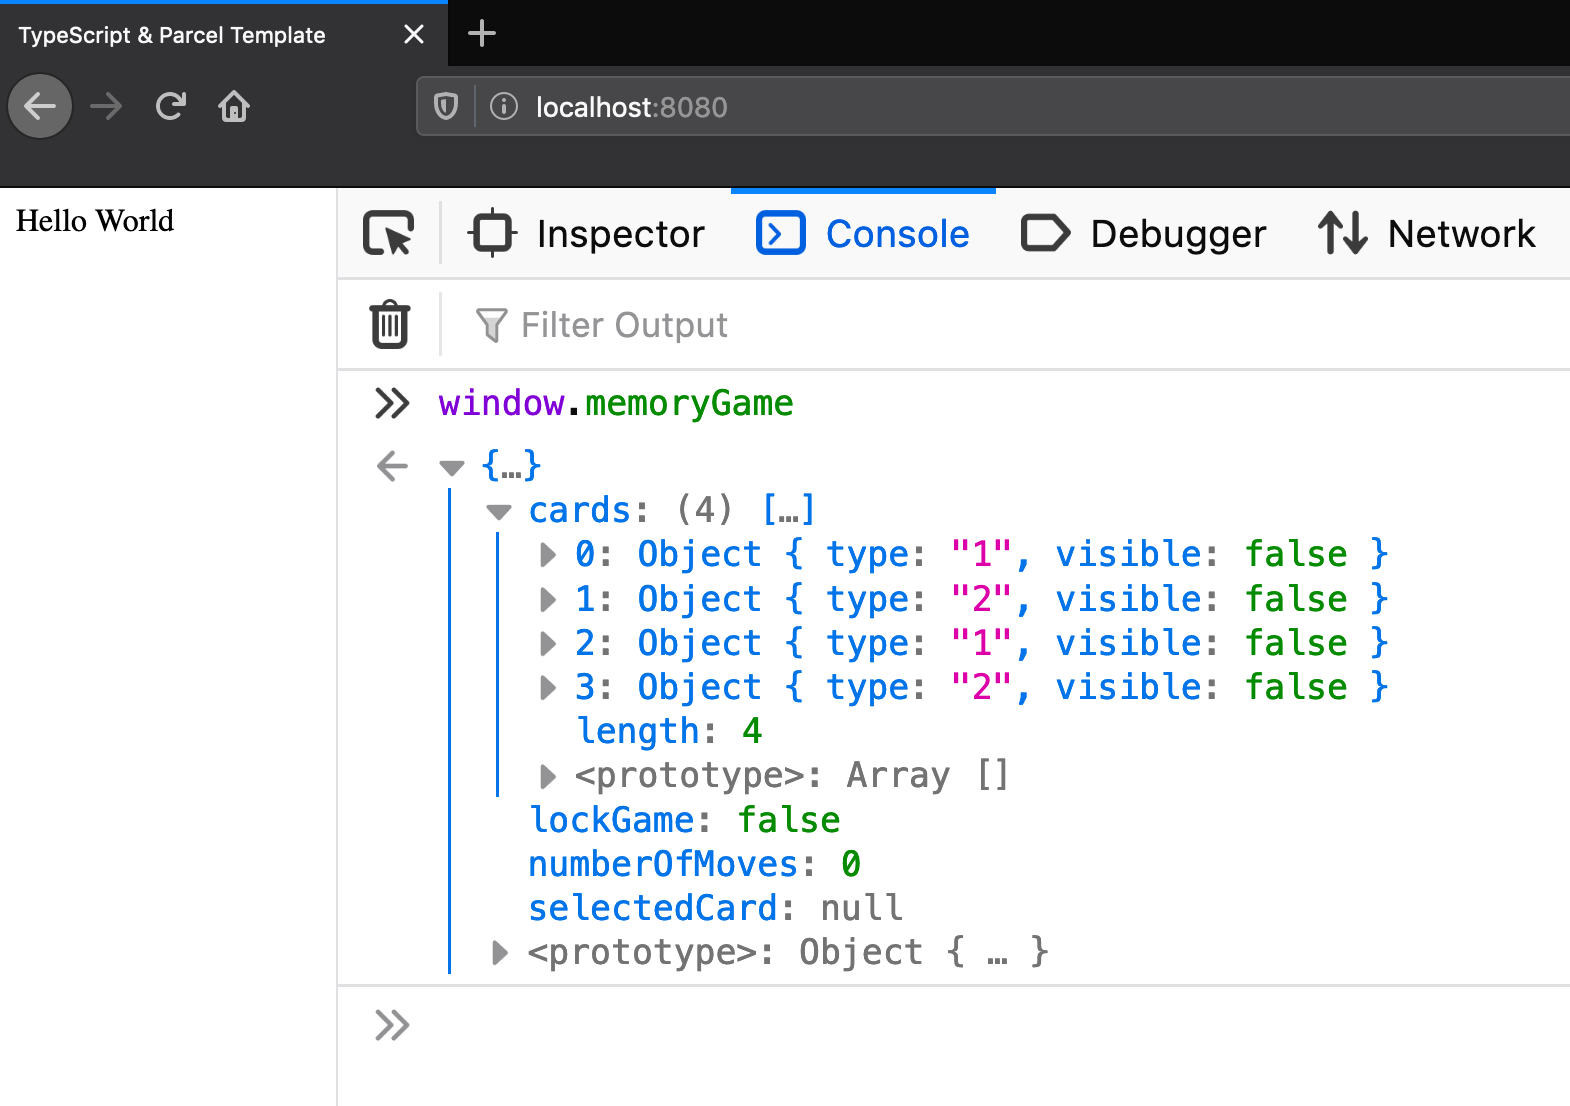
(window as any).memoryGame = new MemoryGame(cards);
In the code above, we created a simple Card array that holds two pairs of cards, and then we created an instance of our MemoryGame class. If you go to http://localhost:8080/ in your browser and open the developer console, you should be able to type in memoryGame and see the game instance.
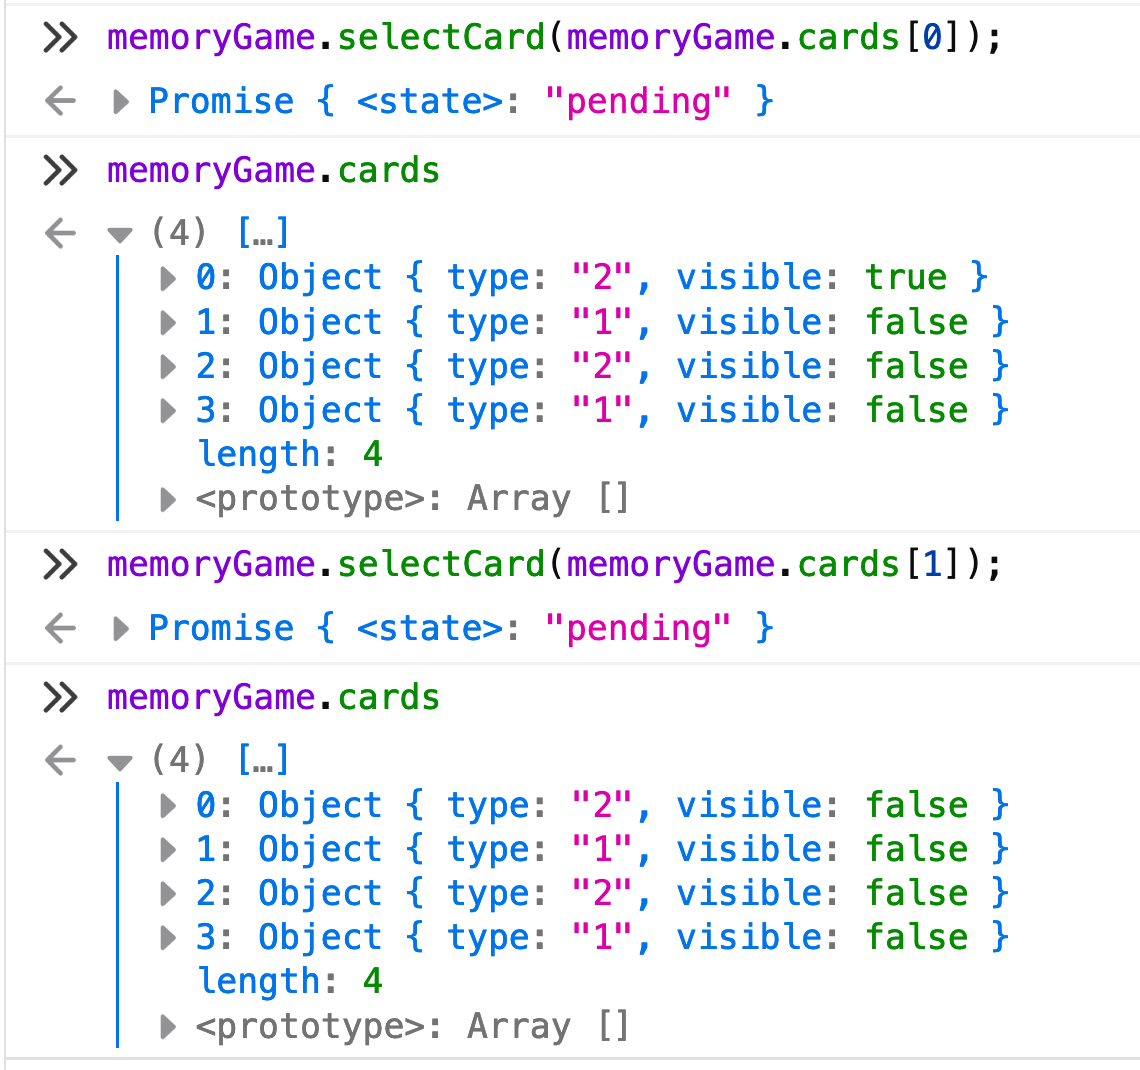
To test selecting a card, if you type in memoryGame.selectCard(memoryGame.cards[0]); followed by memoryGame.cards, you should see that the first card in the array has been selected. If you select another card that does not match the first card, then the cards should be updated so that no cards are selected.
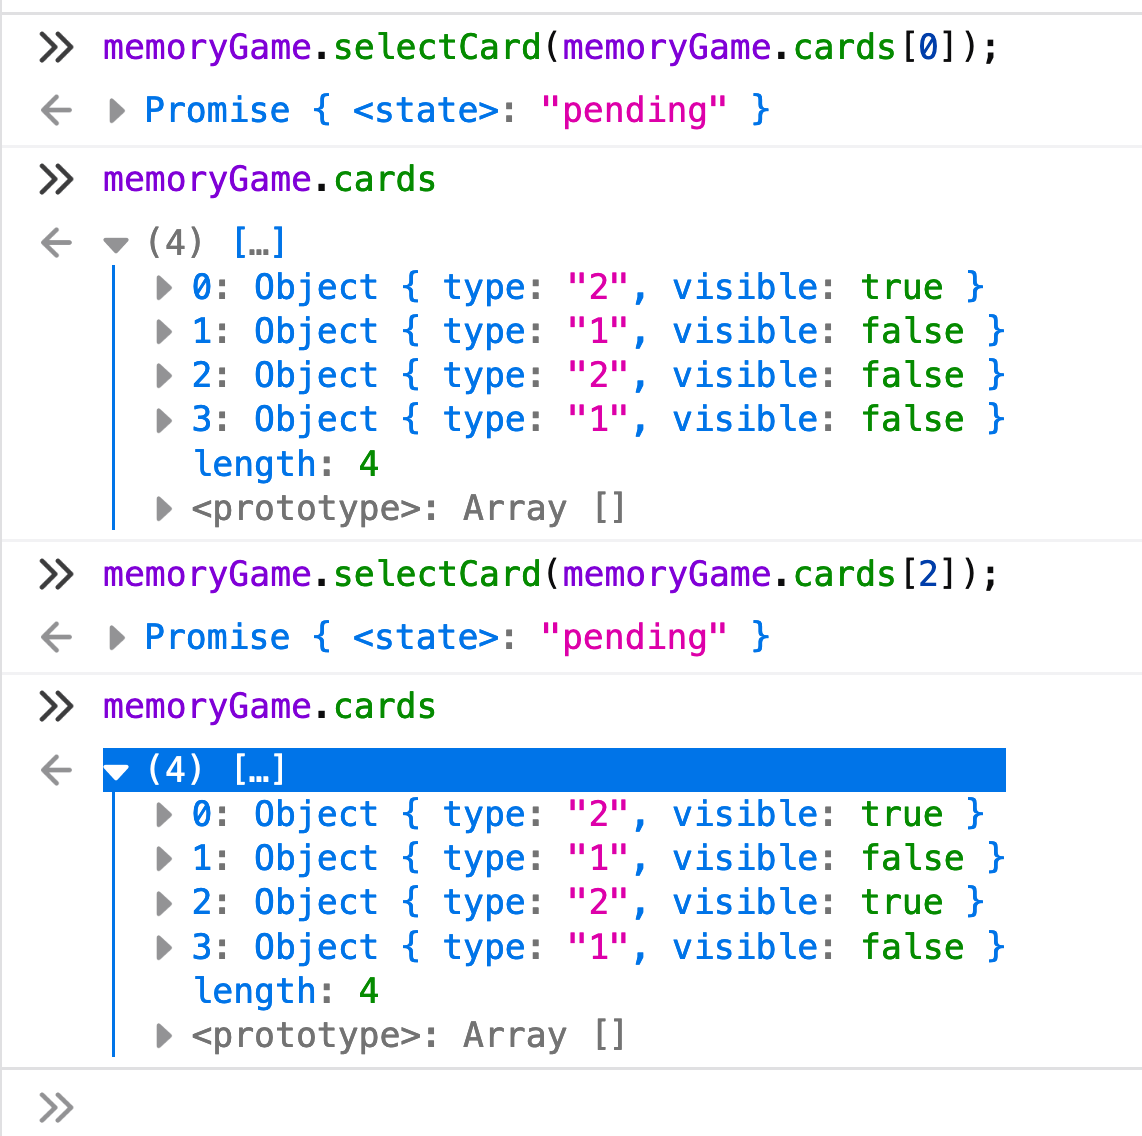
To test the matching of pairs, if you select the first card in the cards array followed by the other card in the array that matches, you should see that the cards remain visible.
Conclusion
Now that we have tested our class, that brings this tutorial to an end. We managed to create a simple MemoryGame class that we can use to create a basic Memory Game. By abstracting the core logic to a seperate file, we can easily extend and re-use this class.
You can find the complete code for this tutorial here: GitHub - TypeScript Basic Memory Game.
I hope you enjoyed this post. Please feel free to post any questions or comments below.
