Unity 2D Snake Tutorial Part 1
For this tutorial we are going to make a simple 2D snake game in Unity. If you are not familiar with the classic arcade game Snake, it is a game that was originally created in the 1970's, and it gained a lot of popularity when it was included on Nokia phones. The game itself has a few variants.
For this tutorial, the main objective of the game is to eat as many apples as you can without running into the any of the walls, obstacles, or yourself. As you eat apples, the snake will get longer, and the speed of the game will pick up, forcing the player to react faster, and to have to think strategically.
In order to follow along with this tutorial, you will need to have Unity installed. For this tutorial we will be using Unity 5.4.1f1, however newer versions of Unity should work just fine. One thing to note is that this is not a tutorial on how to use Unity, so it is best to have some basic understanding of Unity and how it works. However, if you are not familiar with it, you should still be able to follow along with this tutorial.
Game Mechanics
Before we start our project, we will need to plan out how our game will work. We will want to include the following:
- Player (Snake):
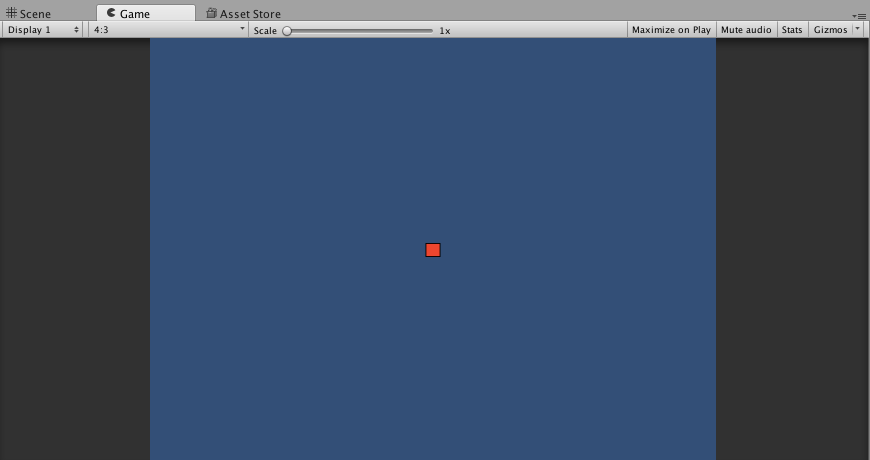
- Starts in the center of the game
- Is only 1 cell big when the game starts
- Will move automatically at a certain speed once the game begins
- Will need to be able to detect player input to change the direction of the snake
- Will need to be able to detect collisions with the apple, wall, and the tail of the snake.
- When an apple is eaten, will need to increase the the cells of the snake by 1
- When the snake collides with a wall or itself, the game will end
- Will need to keep track of the direction of the snake is heading so it can update the positions of each cell of the snake
- Apple:
- Spawns randomly in the game area
- 1 apple needs to spawn at the beginning of the game
- Need to spawn a new apple when the current one has been eaten
- Game Over:
- Will display the Game Over text when the game is over
- Will need to destroy the snake and apple objects on the screen
Project Setup
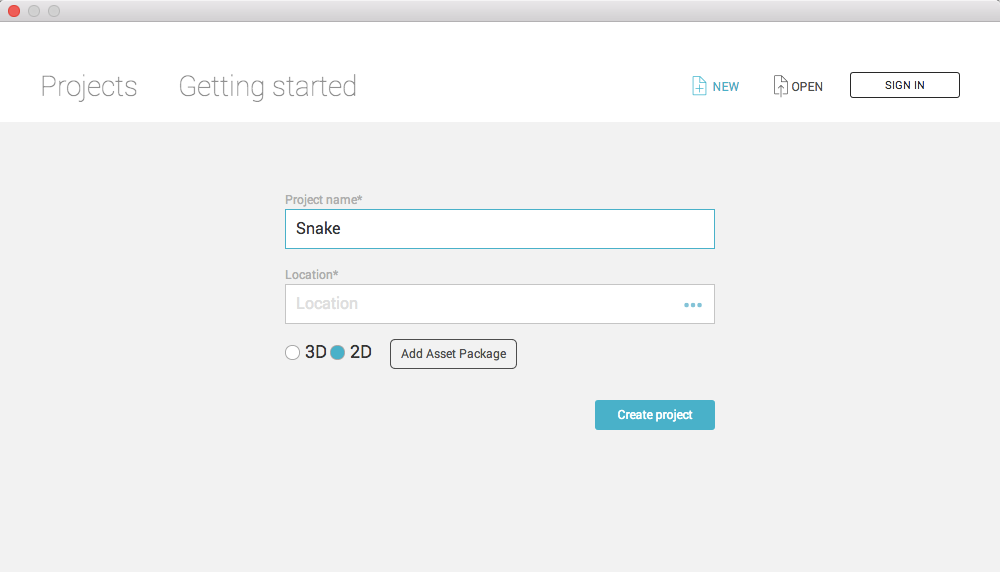
For the first step, we are going to make a new 2D project in Unity. Once Unity has started, click on New Project.
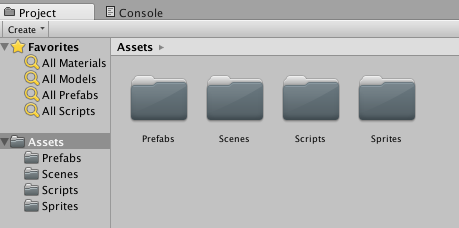
Now, we are going to setup the folder structure for our project. In the Project Area under the Assets folder, create four new folders: Prefabs, Scenes, Scripts, and Sprites.
Next, we will save our current scene in the new Scenes folder. In the main menu, click on File->Save Scene As..., and in the dialog that pops up, enter Main, and then click the save button.
With our basic scene now created, we are going to import the two sprites that are used in this tutorial. Right click on the following images, and click Save Image As... on each one.
snake.png

apple.png

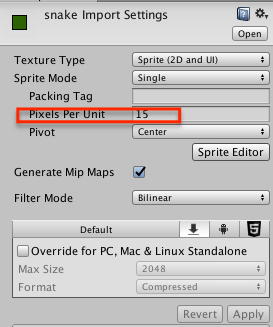
In Unity, right click on the Sprites folder, and choose Import New Asset..., you can also drag the two images directly into the folder. Once your images are imported into your project, you will need to update the Pixels Per Unit setting for each image. If you are not familiar with this setting, it is a basic scale that determines how many pixels are equal to one of the units in Unity. In our game, we want each part of the snake, and the apple to be equal to one unit on the screen.
Click on each image in the Sprites folder, and in the inspector, update the PPU (Pixels Per Unit) to 15.
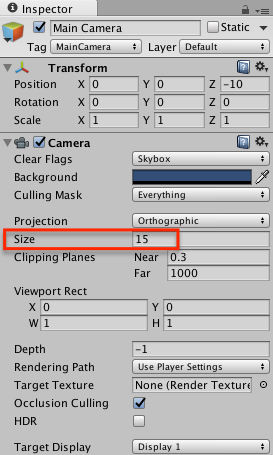
The last thing we need to do for our basic project setup is update the Size setting of our Main Camera. In the Hierarchy, click on the Main Camera, and in the Inspector, in the Camera settings, update the default Size setting to 15.
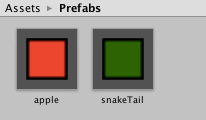
Prefabs and Game Over Text
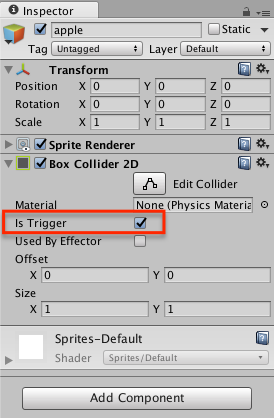
With our basic project setup completed, we are going to create two prefabs for our game, the apple and the snakeTail. From the Sprites folder, drag the apple sprite into the Hierarchy to create a new Game Object.
With the apple Game Object selected, in the inspector make sure the name of the game object is apple, and that the position of the Game Object is (0,0,0). Now, in the inspector, click on the Add Component button, and in the dialog that appears, select the Box Collider 2D component. In the new Box Collider 2D settings in the inspector, click the check box for Is Trigger.
By setting this collider as a trigger, it allows for the object to not behave as a solid object, and instead allows for other colliders to pass through the Game Object. However, we will still be able to detect when another object collides with this game object.
Now, drag the apple Game Object from the Hierarchy, into our Prefabs folder in the project view. By doing this, our apple prefab is now created. With the apple prefab created, we can delete our apple Game Object from the Hierarchy. Right click on the apple Game Object, and select Delete from the menu.
Next, we will create our snakeTail prefab. From the Sprites folder, drag the snake sprite into the Hierarchy to create a new Game Object.
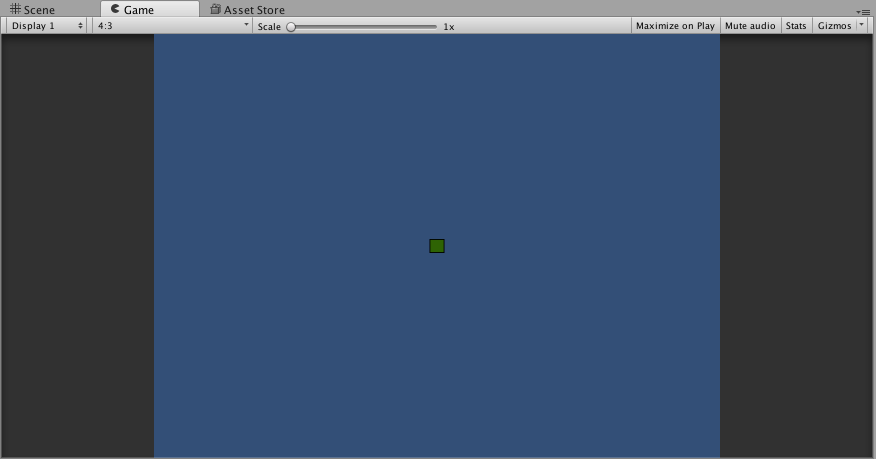
With the snake, Game Object selected, in the inspector, make sure the name of the game object is snakeTail, and that the position of the Game Object is (0,0,0). Now, in the inspector, click on the Add Component button, and in the dialog that appears, select the Box Collider 2D component. In the new Box Collider 2D settings in the inspector, click the check box for Is Trigger, and update the Size setting to be 0.9 for both X and Y.
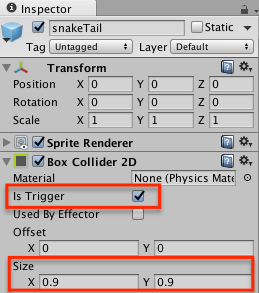
The last thing we will need to add to our snakeTail Game Object is a Rigidbody 2D component. In the inspector, click on the Add Component button, and in the dialog that appears, select the Rigidbody 2D component. In the new Rigidbody 2D settings, change the Gravity Scale setting to 0, and check the box for Is Kinematic.
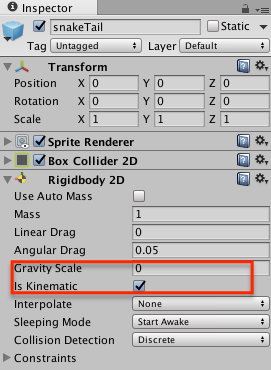
By selecting the Is Kinematic check box, we are telling Unity that all physics should not affect this Game Object, and that the rigidbody will need to be moved by a script.
Now, drag the snakeTail Game Object from the Hierarchy, into our Prefabs folder in the project view. By doing this, our snakeTail prefab is now created. With the snakeTail prefab created, we can delete our snakeTail Game Object from the Hierarchy. Right click on the snakeTail Game Object, and select Delete from the menu.
You should now have two prefabs created under the prefabs folder.
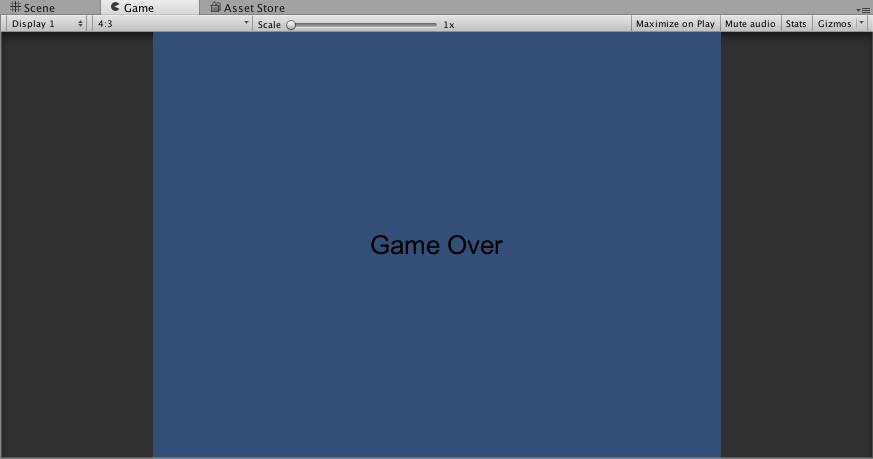
With our prefabs created, we will start working on our Game Over text. In the Hierarchy, click on Create->UI->Text. Since this is our first UI Text object that has been added to our game, Unity will also add an EventSystem and a Canvas Game Object to our scene. Select the text Game Object, and in the inspector, change the Name of the Game Object to GameOverText, update the Font Size to 26, uncheck the Rich Text check box, and update the Alignment to be centered vertically and horizontally.
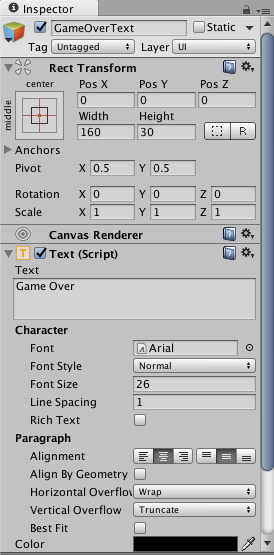
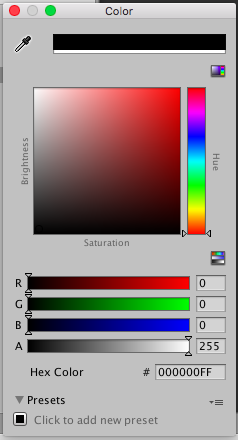
Next, change the Text to Game Over, and update the Color of the text to Black, by clicking on the rectangle that shows the current color. In the modal that appears, you can either click on the color, or enter the RGB value for the color you would like to use.
Your text should look like this:
The last thing we need to do with our Game Over text is hide it, since we only want it to show to the player when the game is actually over. We can do this by changing the Alpha of the text to 0. Click on the Color of the text to update it one more time. In the modal that appears, change the value for A (alpha) from 255 to 0. This should now hide the text on the screen.
With the Game Over text now created, this concludes part 1 of our tutorial. In part 2, we will create our game controller, and start working on the actual game play.
